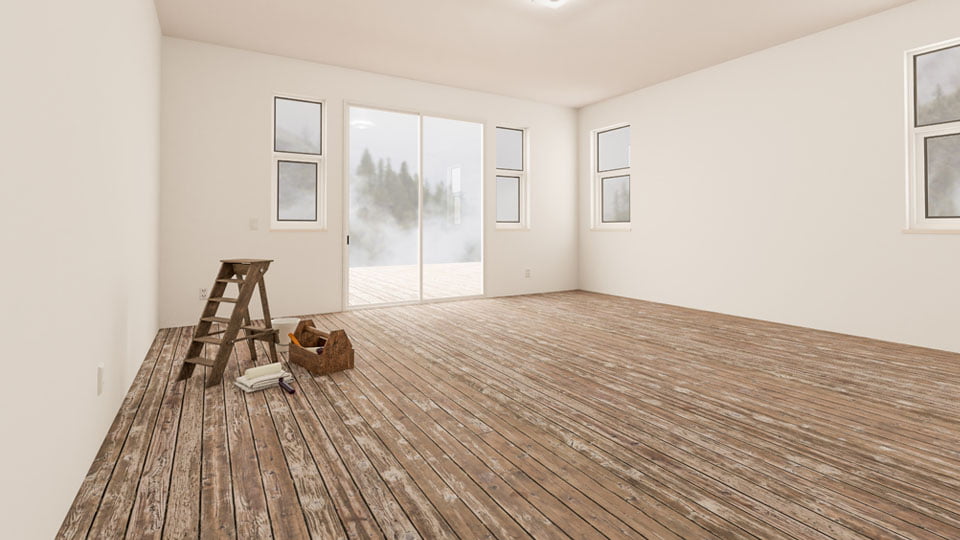
So you’ve just moved into a new (maybe old) house and you hate the carpets in the bedrooms.
Your dying to see what’s underneath and hoping that there are some beautiful wood floor boards, which you can renovate and get back into tip-top shape.
Well this article will give you everything you need to know about renovating original wooden floors so you can achieve a beautiful finish in your bedrooms.
So, let’s dive right in.
Tools Required for your DIY wood floor renovation
- Gloves
- Belt Floor Sander (usually from a hire shop)
- Goggles or protective glasses
- Screwdriver
- Sandpaper
- Varnish and paint brushes
- Planer (optional)
- Wood Filler
- Draught Excluder for filling between boards (optional)
- Wood panels (similar size and shape to the current ones)
The steps to a wood floor renovation
Step 1 – rip up the carpet
Depending on what type of floor you already have in the room, you’re going to need take it up in different ways. For example, if you have carpet you’ll need to cut the carpet into strips before disposing of it.
Otherwise it will just be far too big to handle and get out of the room.
You’ll also want to remove any sub floor like underlay or foam that the previous work-people might have installed.
Step 2 – Inspect the wooden floorboards and fix any issues
Now you’ve removed the old (possibly tatty) flooring, you can begin to inspect what’s underneath. Hopefully the wooden floorboards are in okay health and you don’t need to lif any. If you do need to know how to, read our other post, how to lift old wooden floorboards
By that I mean if they are the originals, they’re probably not going to be in the perfect condition but hopefully they aren’t too broken or very different in colour.
We recommend you go over the boards looking for ‘sticky-out’ nails or screws which have significant potential to hurt you under foot.
Find any loose or squeaky floorboards, which need to be screwed down. Make sure there aren’t any pipes or electrical under the floorboards where you need to put new screws in.
Are any of the boards ‘bowed’? Meaning they droop down along the centre of the board.
If so, you’re going to need to sand them down and try to get them almost straight. A slight bow won’t be too much of an issue but if they are really warped, you may want to look at buying a couple of new boards for the worst affected ones.
Step 3 – Change floorboards or add floorboards
If you feel you need to change any of the floorboards, then now is the time to do that. Simply unscrew them and pull them up.
Be sure to check the thickness of the current and purchase new ones that are the same. Otherwise you will have a step between the 2 which would be annoying as you walk through the room.
Step 4 – fill in any gaps and reduce draughts
Use ‘gapseal’ or something similar – https://www.draughtex.co.uk/ – Reduce draughts by adding wood filler in between the floor boards.
Step 5 – Sand the wooden floorboards
Now it’s time to get even more physical and a little bit more noisy. If you have a large room you’ll definitely benefit from hiring a large floor sander and, if you don’t already have one, a small edging sander too.
Edging sanders aren’t too expensive and will make a massive difference a lot quicker.
When you sand the floorboards, this is when you might notice that they are bowed in the middle. So, the sander might only do the outside of each floor board. That’s when you’ll need to decide if you need to change more of the floorboards or you’re happy to keep sanding them down until they become more level.
Step 6 – Oil, Paint or Varnish the wood boards
Now that you’ve sorted the look and feel of the boards, it’s time to make them look even nicer and more uniform while protecting them at the same time.
You can do this by applying a coat of wood varnish or oil. Another option is to paint them a colour of your choice.
For example, it’s not uncommon for some people to paint theirs white with a hard wearing paint.
Step 7 – Add the finishing touches (a complimentary rug)
If you want to bring your room to life, then it could be worth investing in a complimentary rug.
After all your, you probably still want the panels to show so it’s best to get a rug that’s about half the size of the whole room
Frequent Questions
How much does it cost to renovate wood floor?
Depending on how much wood you need to replace, the renovation of wood floorboards can be relatively cheap. A sander to hire will be around £100-£200 and the oil will be around £20. Other than these costs it’s the physical time it will take you to achieve the look you w ant.
Can you lighten dark wood floor boards?
The best way to lighten dark wood floor boards is to sand them down first, then give a coat of primer and then choose the colour you want to go on top. IN order to get the look you desire, you might need a few coats of the right colour before you get there.