
 When renovating a kitchen or bathroom, the order in which you complete each step is vital to the success of planning and project outcome. That’s why in this article, we are giving you essential steps to take when installing electric underfloor heating. Often installed in the kitchen or bathroom.
We also make suggestions about which step you need to take and when during the full renovation.
The high-level stages for installing electric underfloor heating are:
- Fitting insulation boards
- Buying the mats
- Testing the heat mats
- Laying the heat mats
- Laying self-levelling compound
- Installing the digital thermostat
- Lay the underlay and flooring
For starters though, one of the big questions is:
At what point should you lay underfloor heating during a full kitchen or bathroom renovation.
The installation of electric underfloor heating should be done after you have cleared the room of everything, such as old worktops and units, but before you lay any self- levelling compound. More on that below.

However, you should inform your electrician as soon as possible that you want to install it. That way, he can give guidance on where best to place the electric thermostat(s).
The electrician is one of the first tradesmen you will need on a full renovation, so this is a good place to start.
The location (at least) of digital thermostat will need to be decided and wired up prior to plastering the walls. That way you don’t need to recall the plasterer to finish the job after the electrician has been.
So let’s look at each step in more detail.
Step 1: Fit the insulating boards
Insulation boards are vital to holding as much heat as possible in the room. Thereby improving energy efficiency and saving you money over the long-term.
You can lay these boards over the concrete floor. Or if you’re not removing the old vinyls, you can place them directly over the top.
You may wish to paint on a heat reflex primer too, which will help to reflect the heat back up in to the room once the flooring is laid. Simply paint it on the insulation boards using a paint brush then leave to dry for about 1 hour.
Step 2: Buying & Testing the Underfloor heat mats
Your electrician or flooring expert will usually offer to include the heat mats as part of their quote.
It’s recommended to do some shopping around and compare quotes online so you can be sure to get the best ‘bang for your buck’.
When the delivery arrives, you should check the mats are not damaged before laying it on the floor, otherwise you can’t return them.
To test properly, you will need a digital Multimeter but it’s worth getting one because in any case that it is damaged, you will be able to return them directly to the manufacturer. Of course, if you get everything through one of your professional trades people, they should certainly test them before laying.
When using the Multimeter, set it to the resistance range as shown on the label of the electric underfloor heating mats (usually 200).
Connect the supply wires to the Multimeter wires and monitor number on the screen to see if it matches the resistance number on the label. If they match, the product isn’t damaged and you can go ahead to install.
Step 3: Lay Electric heating mats
A good practice is to draw out, on paper, how you want to run your heat mats around the room in an up/down format according to the length of the room.
Each of the red element wires need to be linked at the end of each row so they are connected throughout the whole room. Therefore, planning this is essential.
On your diagram, it’s a good idea to only put the heating where you will walk. That means avoiding going under the kitchen units, or any bathroom utilities. Saving you time and money.
The usual practice is to leave a 10cm gap around the edge of any skirting board or units in the room.
Once you’re happy, roll out each mat in accordance with your diagram. Remember, if you have already decided where the digital thermometer will be placed, you need to make sure the end of the heating wire matches up to it.
When cutting the mats to size, bear in mind that you should only ever cut the mesh, never cut through the red elements.
Once you’re happy with the layout of the room, fix the heating down by peeling off the self-adhesive tape.
Then, you’re ready to install the probe which will be connected to the thermostat. Place the probe into the middle of the (red) elements and cut into the insulation board if needed, so it finishes flush.
Finish by placing tape over the probe and you’re now ready for the self-levelling compound if it’s needed.
Step 4: Level the floor with self-levelling compound
It’s highly recommended to put down your self-levelling compound after installing your underfloor heating.
The benefit is that it will help protect the wires and allow your flooring expert to walk around freely while finishing off the tiles or laminate.
Start by pouring the mixture over the underfloor heating mats. Use a flexible levelling compound it has a fibre adhesive in it which makes it stronger so when it expands and contracts under the heat, it won’t crack and break
When spreading the self-levelling compound, it’s important to avoid using a metal trowel to spread the mixture, so that you don’t cut the wires by accident.
You can do it at different thicknesses depending on how much you want to raise the floor by. A 3mm thickness should usually suffice though.
We have a detailed article on how to lay self-levelling compound, which you should be sure to read if doing this yourself.
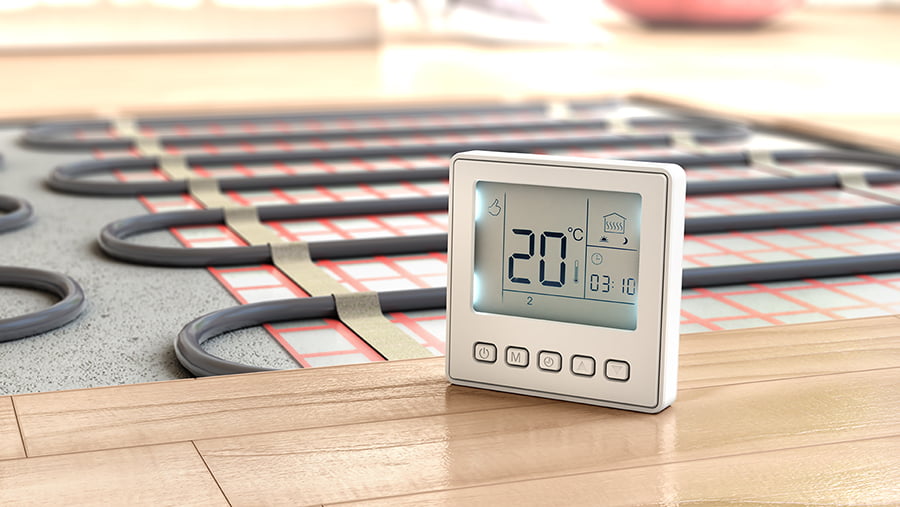
Step 5: Connecting the underfloor heating
Now that you’re ready to get everything up and running, it’s time to bring back the electrician.
Giving detailed electrical guidance is outside the scope of this article because it involves using your home’s supply.
Therefore, it’s highly recommended to appoint a qualified electrician to install the digital thermostat
Step 6: Lay the flooring
Next, you’re ready for your underlay. Depending which top floor you have decided on will depend on which underlay you need.
For example, if you are laying laminate or wood flooring, the Heatflow from Duralay is your best option.
However, if you lay carpet you will need a slightly thicker underlay, which will be the Duralay King.
What is for certain, is that you need a low tog underlay so it transmits the heat through the floor.
Read our full guide on what is the best underlay for underfloor heating.
Once you’re happy, you can employ your flooring fitter to finish the job professionally. Hopefully leaving with you a nice cosy room at the end of it all.
Feel free to leave any comments below
Further Resources: